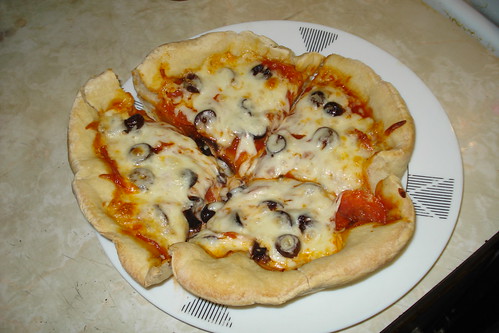
Last night was pizza night.
Its not hard at all to make homemade pizza and you dont have to settle for a store-bought crust. If you have time its easy to make the dough the same night, but it does require an hours wait for it to rise plus some kneading time. If that wont work for you on a weeknight, you can make the crust ahead and freeze it.
I made this dough while I was waiting for my green curry to cook. I had originally planned to make it over the weekend, but I ended up having to go to parties both days (having to? I know, what a hard life I lead) and I spent my kitchen time on cake and frosting. But this weekend I will make a few crusts to freeze.
You start by pouring a cup of warm water a bit warmer than body temperature into a mixing bowl and adding a tablespoon of yeast. If you use the packets that come in threes, you want one packet. But if youre going to bake with yeast more than about twice a month you should definitely buy yeast in bulk and store it in the fridge in an airtight container. Much more cost-effective. Anyway, also add about a teaspoon of the sugar of your choice brown sugar, white sugar and molasses are all fine, though you might use a tad less of the molasses and mix it with a fork until the mixture is dissolved, then let it sit for about five minutes, during which time you should see little blooms of yeast appear in the water. This means your yeast is alive and reacting well with the sugar, which is good. If nothing happens, your yeast is dead; throw it away and start over with fresh, or your dough will not rise.
Now add a tablespoon of olive oil and a teaspoon of salt and stir in. If you want to fancy up your pizza crust you can also add a bit of dried oregano or basil, freshly ground pepper, or grated Asiago or Romano cheese. I stuck with the basics this time. Now add about a cup and a half of flour, and mix with the fork until well combined. Start adding flour about half a cup at a time until the mixture is thick enough to turn out and knead probably about two additions, but the specific amount will depend on the freshness of your flour, the humidity of your kitchen, and the extras youve mixed in if any. Scrape flour and dough down the sides of the bowl as necessary.

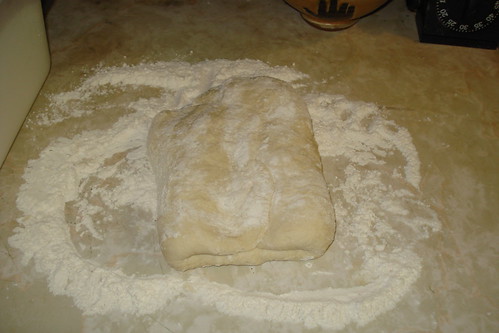
Sprinkle some flour onto a large flat surface, such as a rolling board or a countertop, and turn out the dough mixture onto it, scraping bits from the side of the bowl as necessary. (At this point take your bowl to the sink and set it to soak in warm soapy water while you knead.) Sprinkle a bit more flour onto the dough and start to knead it: press the ball a bit flatter, then fold it in half or in threes and punch and push it together. Keep doing this and sprinkling on more flour as you work; youll probably need about 3½ to 4 cups total, but dont focus on measuring; work the dough until it stops absorbing flour and feels firm and springy, and not too moist. The Moosewood cookbook The Enchanted Broccoli Forest says to work bread dough until it feels like an earlobe, and thats probably the most helpful analogy Ive seen for it. Springy but with substance, not tacky, not tough.
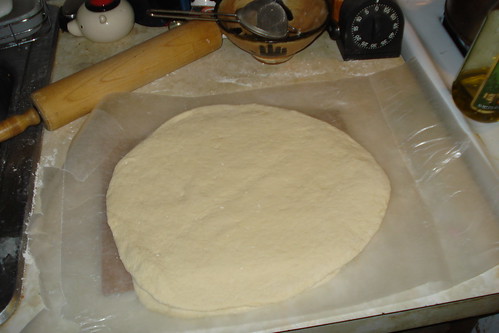
Shape the dough into a ball and let it sit for a moment while you wash out the mixing bowl, rinse it well with warm water, and dry it. Oil the bowl with either cooking spray or about a teaspoon of olive oil rubbed on with a paper towel. Take the ball of dough and thump it into the bowl, then turn it over so theres a light coating of oil on the exposed side. Cover the bowl with a towel, set it in a warm and non-drafty spot, and let the dough rise for an hour, or until doubled in size.
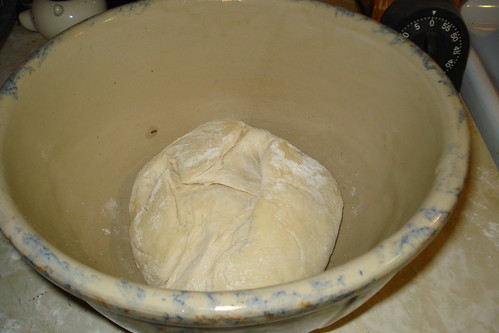
When the hour is up, punch down your dough. I was stupid and didnt take a photo of the dough before I punched it; it was quite lovely.

For this recipe I typically make two 9-inch deep-dish pizzas, so I divide the dough into two and work each half for a single crust, but you could also make a single large round pizza with the whole thing. Or four smaller individual pizzas. Its really up to you.
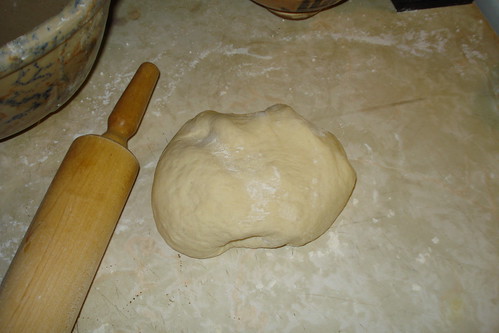
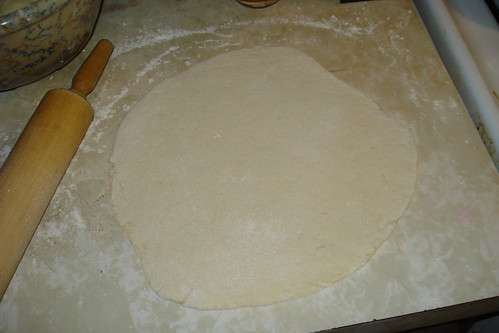
So I divided my dough in half and shaped each half into a ball, then pressed it somewhat flat with my hands. I do not really know how to toss pizza dough, but it would be a good skill to learn; the stretching helps develop the crust well. I press the dough out with the heel of my hand, working from the center, until its a bit less than half the diameter I want, then take out Mr. Rolling Pin and roll it out.
To make a circle I do a couple of rolls forward and backward, then turn the crust over and one turn clockwise and do the same againIm always working along just one axis and moving the dough to ensure that Im working evenly and symmetrically. You could also roll it square or rectangular if you want to do a Sicilian-style pan.
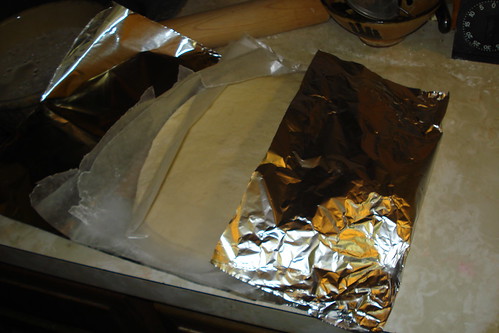
When the dough is about the size you want, its ready to freeze. On a separate surface, lay down a piece of clean or foil-wrapped cardboard about the size of the crust, and top it with a piece of wax paper that youve lightly oiled. Fold your crust in half, then again into a quarter; transfer it to the wax paper with the point in the center, and unfold itno tearing or stretching.
Oil another piece of wax paper and lay it atop the crust, oiled side down. You could stack up a few crusts this way if you want; be sure to oil both sides of the wax paper. When youre done, fold in the edges of the wax paper as best you can, then wrap the whole thingincluding the cardboardtightly in aluminum foil, label, and put it in the freezer.
When youre ready to start dinner, pull out the frozen crust (or as many from a stack as you need) and lay it unwrapped, on its wax paper, on a counter or rolling board to thaw. Let it sit for about 20-30 minutes, depending on the temperature of your kitchen; you want the crust to be pliable and not too cold. In the meantime, gather and/or prep your toppings of choice.
Preheat your oven to 400 F. Transfer the crust to an oiled pan of your choosingflat, deep-dish, its up to you. (My husband prefers deep-dish, so I use a couple of layer cake pans that are too beat-up to make cake in.) When the oven is preheated, put the bare crust(s) in and bake for about 5 minutes.

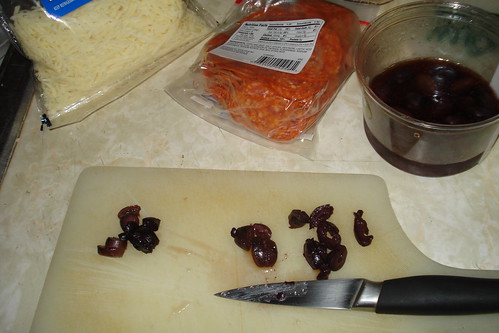
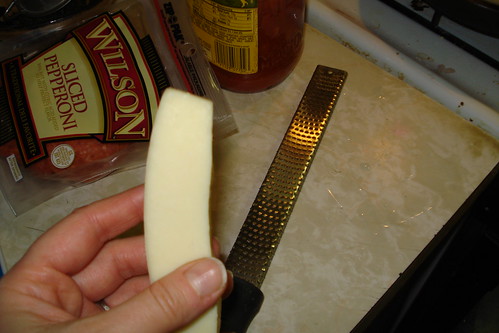
Remove the pre-baked crusts and assemble the pizzas as you like. I used a jarred marinara sauce (there are some good ones out there, and they tend not to be overly watery), pepperoni, and sliced Kalamata olives, which are tastier than canned black olives not that I am going to knock those in a pinch.

You could make your own tomato sauce, or use a béchamel or cheese sauce, and of course the skys the limit as far as meat and vegetable toppings. I finish up with a generous spread of grated mozzarella and then a light sprinkling of grated Asiago. Some people prefer to put pepperoni and other things on top of the cheese, but I like it all to go underneath. If you want you can brush a little olive oil or melted butter on any exposed crust, which gives it a nice color (and flavor). I didnt bother with that here.
Return your pizza to the oven and bake for 12-14 minutes, until the cheese is browned at the edges.
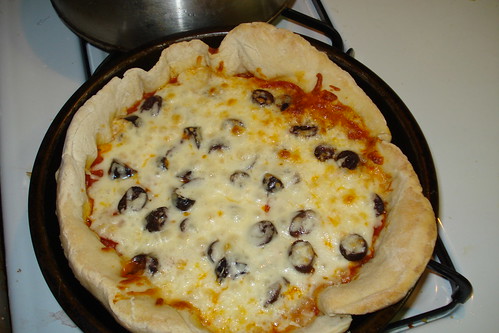
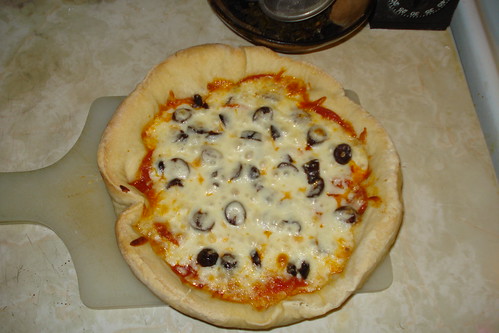
Remove pizza from the oven and transfer to a cutting board (if youre making a thin-crust pizza you can just slide it off the pan; for deep-dish, the crust should be firm enough to lift out; if the pizza is too large you’ll have to slice it in the pan). Use a pizza cutter or large heavy knife to slice the number of slices you want and enjoy.
If you work with frozen crust, you have to allow about 30 minutes for it to thaw, then 15-19 minutes to bake. Actual hands-on time is minimal: Assembly of the pies, plus any prep you do such as chopping peppers or grating cheese, and then slicing. You can have fresh homemade pizza ready to eat in under an hour, and little to do for most of that time. You don’t have to settle for processed crusts that taste like cardboard, you don’t have to pay through the nose, and you don’t have to fill your trash can with the little plastic doohickeys from the delivery box.